It’s challenging to install a new garage floor coating. These tips and tricks will help you become more successful in your customer’s eyes, give you more confidence in your skill, and save valuable time and money.
1.) Plan Everything
From start to finish, preparation is paramount. For instance, your rollers and cut-in brushes should be ready. Mix the materials ahead of time. The less time wasted locating tools will allow you to spend more time getting the material poured out and rolled down as fast as possible. Have your material separated into buckets and ready to mix with your drill and to mix paddle ready. I like to get a thick black trash bag and lay it down to create a working area to set my products, buckets, drills, flakes, and whatever I need. If not, epoxies can be extremely messy! After everything is mixed and applied, I roll up the trash can and dispose of it, along with used material buckets, hardened brushes, and rollers!
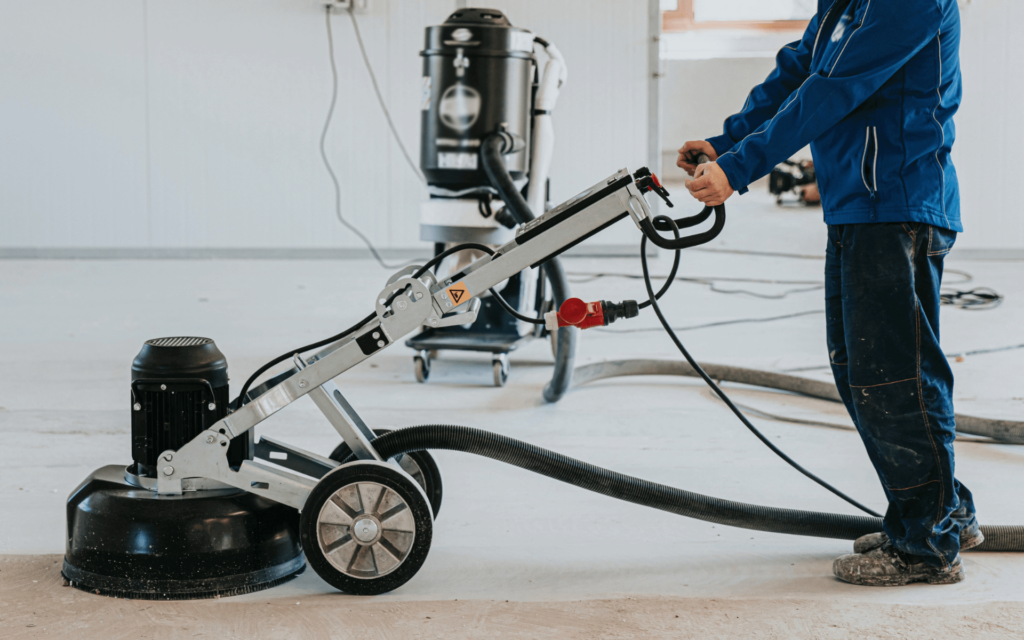
2.) Grind or prep the floor for proper adhesion (before applying epoxy).
Please do this to avoid having to prep the floor again and avoid covering the sidewalls in dust and debris, which is not easy to clean! My process is simple. First, fill any cracks or holes with concrete filler. While that dries, within an hour, I begin to grind or etch the floor. After prep, I sweep or blow all the dust and debris off the floor. Prep all my material, measure my sections for application, and coat and flake the sidewalls. After this is dry, I sweep and remove all the excess flakes and begin the floor application. I use a brush to install the epoxy up to or over the sidewall coating that extends onto the floor, ensuring the flakes are consistent and seamless down the sidewall to the floor, then I flake. After drying everything, blow off the excess chips and seal them with polyaspartic!
3.) Always coat and flake the sidewalls first.
On most garage floors, there will be sidewalls, mostly running down the sides of the garage and sometimes around the walls. I like to mix some colored basecoat, usually around 16 oz., and apply generously and fast. You want to brush it on thick around in under 30 min or less. You can be somewhat sloppy, seeing that you are creating a colored curb to stick flakes too. After painting the sidewalls (don’t worry about getting them on the floor), it’s time to cover them in flakes/chips. I like to throw small handfuls directly at the curb. If the curb is hard to reach underneath trim or sheetrock, you can throw the chips at the floor, which will bounce up on the sidewall. After you are happy with the flake coverage, let it dry. I like to return after drying and scrape the excess flakes, sweep them into a pile, and reuse them if possible.
4.) Always go thicker instead of thinner!
Apply the epoxy at a specific thickness. If the product recommends going down between 100 and 200 sq ft per gallon, try applying closer to the 100 sq ft.; this will ensure proper mil thickness for optimal coating performance. Thicker epoxy material also ensures the flakes get stuck to the base coat for adequate bonding.
5.) Seal with a polyaspartic sealer.
Polyaspartics ensure the longevity of the coating. Polyaspartics are UV and abrasive-resistant, meaning it is tough to scratch! It is excellent against hot tire pickup and chemical and oil spills. When installing an epoxy coating, the most important thing to consider is buying quality products with a proven track record and applying the product to the products manufacturer’s recommendation. Sealing the garage with a polyaspartic sealer will ensure a beautiful finish that can last the life of your home.
Do the proper research so that your confidence level in your coating installation is not an issue! Have fun, and remember, we are there for you, no matter what!
Whether you are a professional installer or a do-it-yourself homeowner, these tips and tricks will ensure a timely and professional installation.
After installation, how did these tips help you save time and money?